Almost every morning, my wife and I have a breakfast that consists of some combination of eggs, a side meat, greek yogurt (we buy Fage full 4% on the road or make our own at home using Fairlife milk in our Instant Pot), and possibly an avocado. This all makes for a very high-protein, low-carb, zero sugar meal at the start of our day. She’ll make a pot of her tea and I’ll typically just have water and/or zero-calorie sports drinks.
And this is great. It’s fast, it’s fulfilling, and we look forward to it every morning.
But every once in a while, the human condition of restlessness kicks in and a desire for change may be felt. And, I’ll admit, memories of breakfasts with my family when I was little make me pine for piles of pancakes or waffles, toast, or even just cereal. All of which have been banished from my kitchen for being insanely carb-heavy and often also sugary.
But then recently, at Costco, I spotted this product…
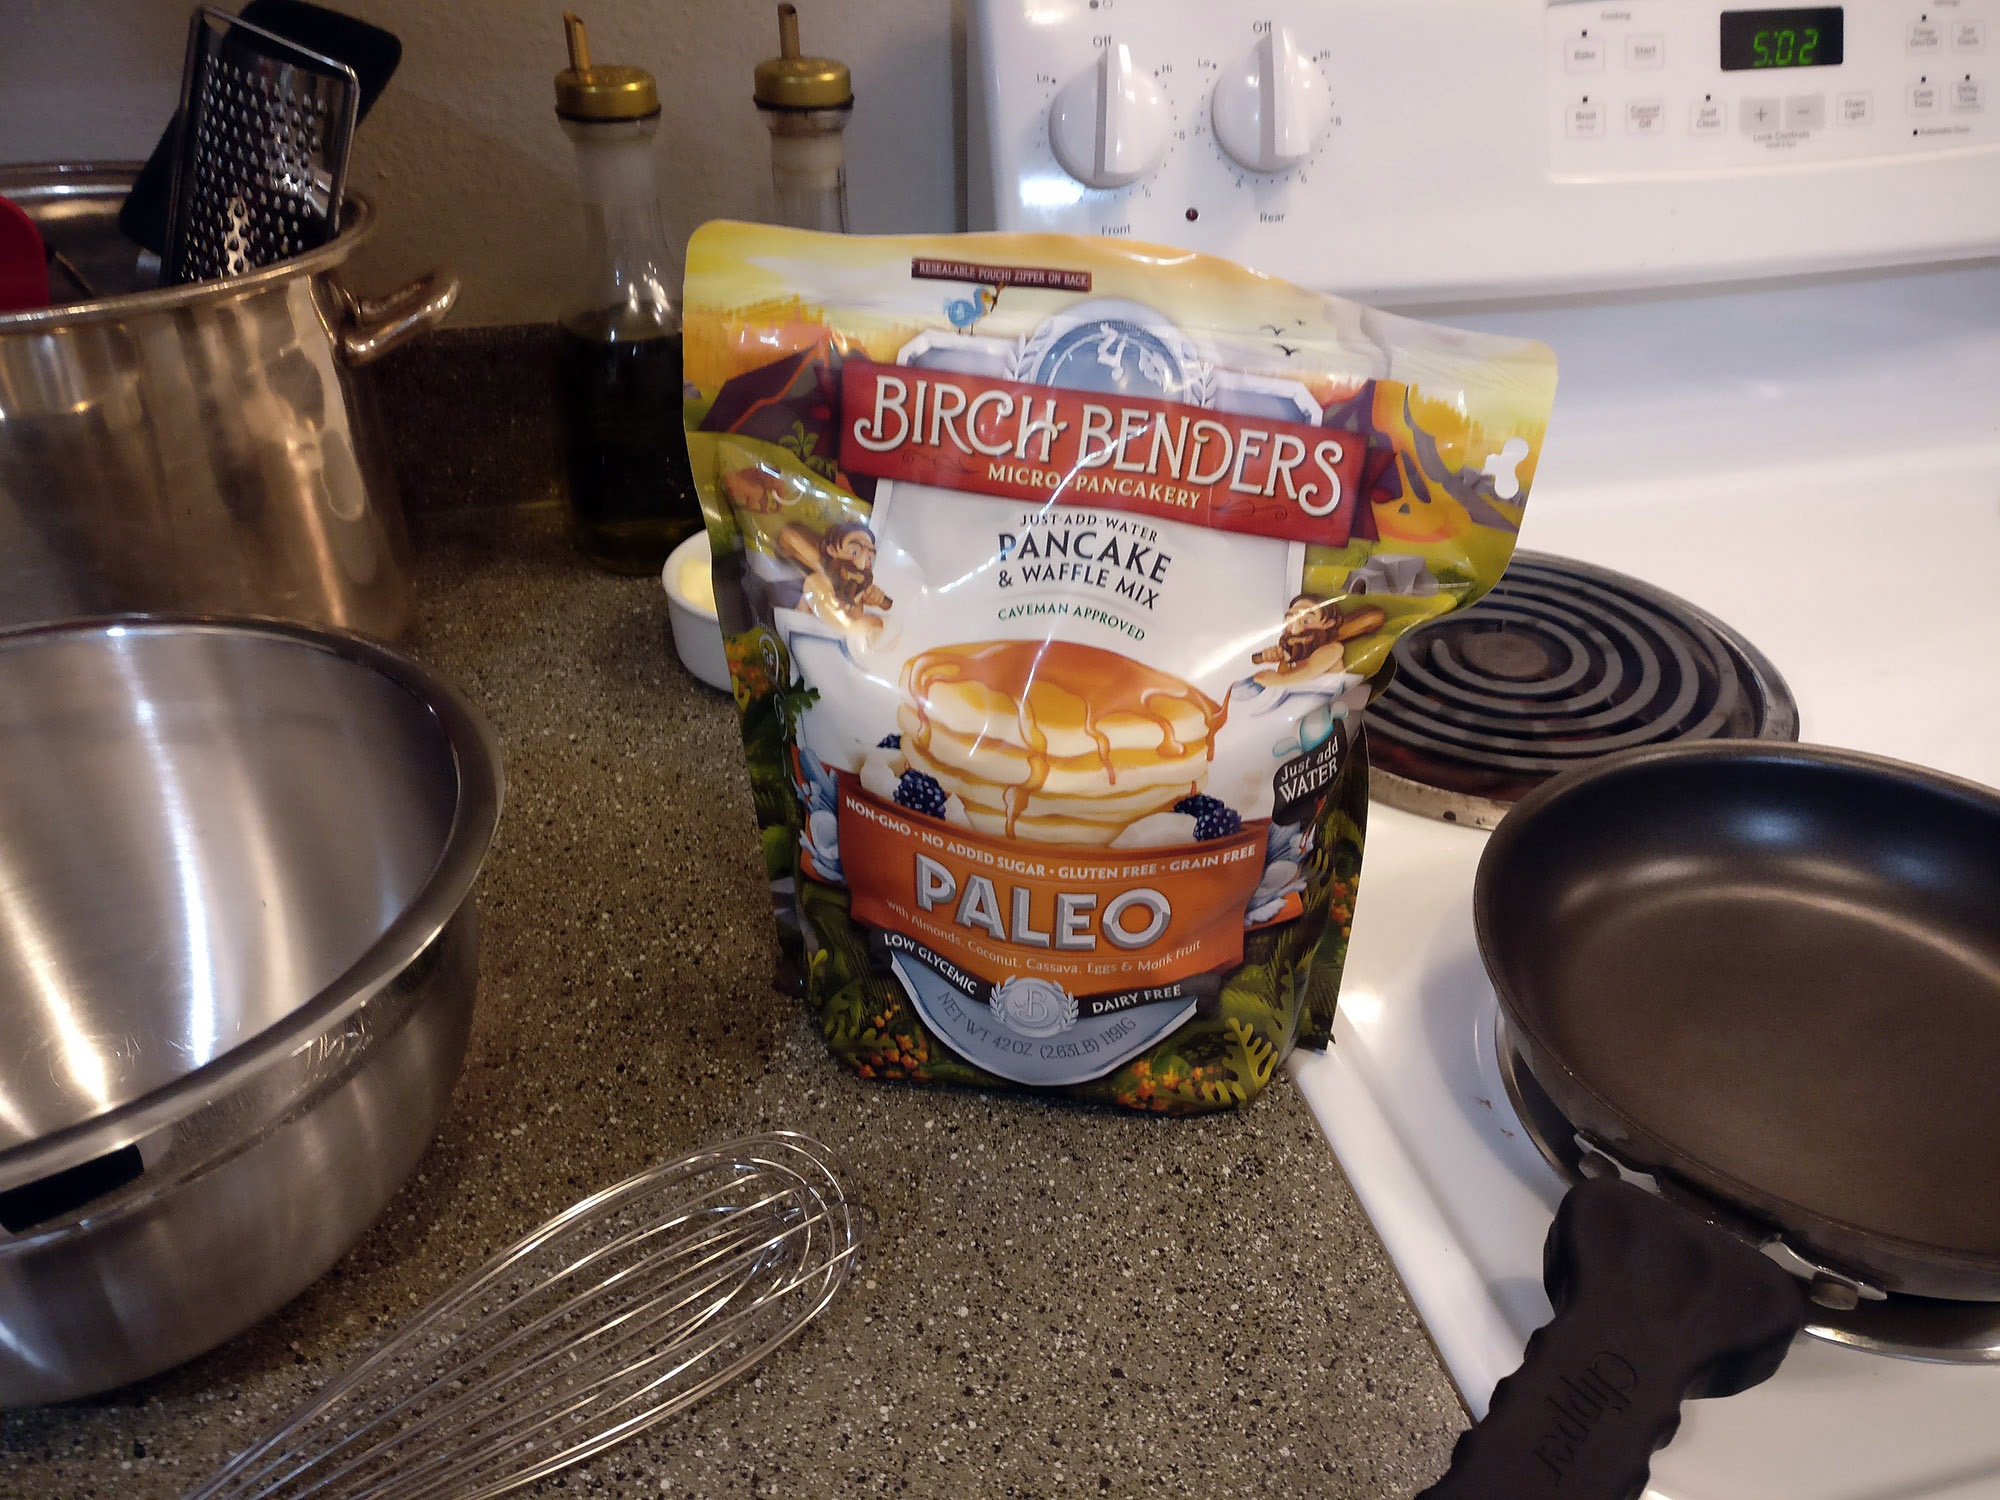
This product claims to be a paleo-friendly pancake mix. I’m not officially keeping to any “diet” that involves rules and buzzwords. But while I don’t identify my dining as “paleo” or “keto” or anything of the sort, I am always interested in food options that are tasty while minimizing carbs in a reasonable way. This mix, from Birch Benders, makes use of almond flour, coconut flour, cassava, monk fruit, and powdered eggs, hitting a rather effective bingo when it comes to modern “dietary wonder” ingredients that people try when avoiding wheat flour. The only thing I think I’m not seeing here are ground crickets. 😉
Let me tell you… the results are fucking delicious.
I sweeten the preparation a bit so that we can avoid applying any syrup to the finished product. The last time we made these (they tend to be a weekend morning specialty for us) I took photos in order to share details with others. So here you go!
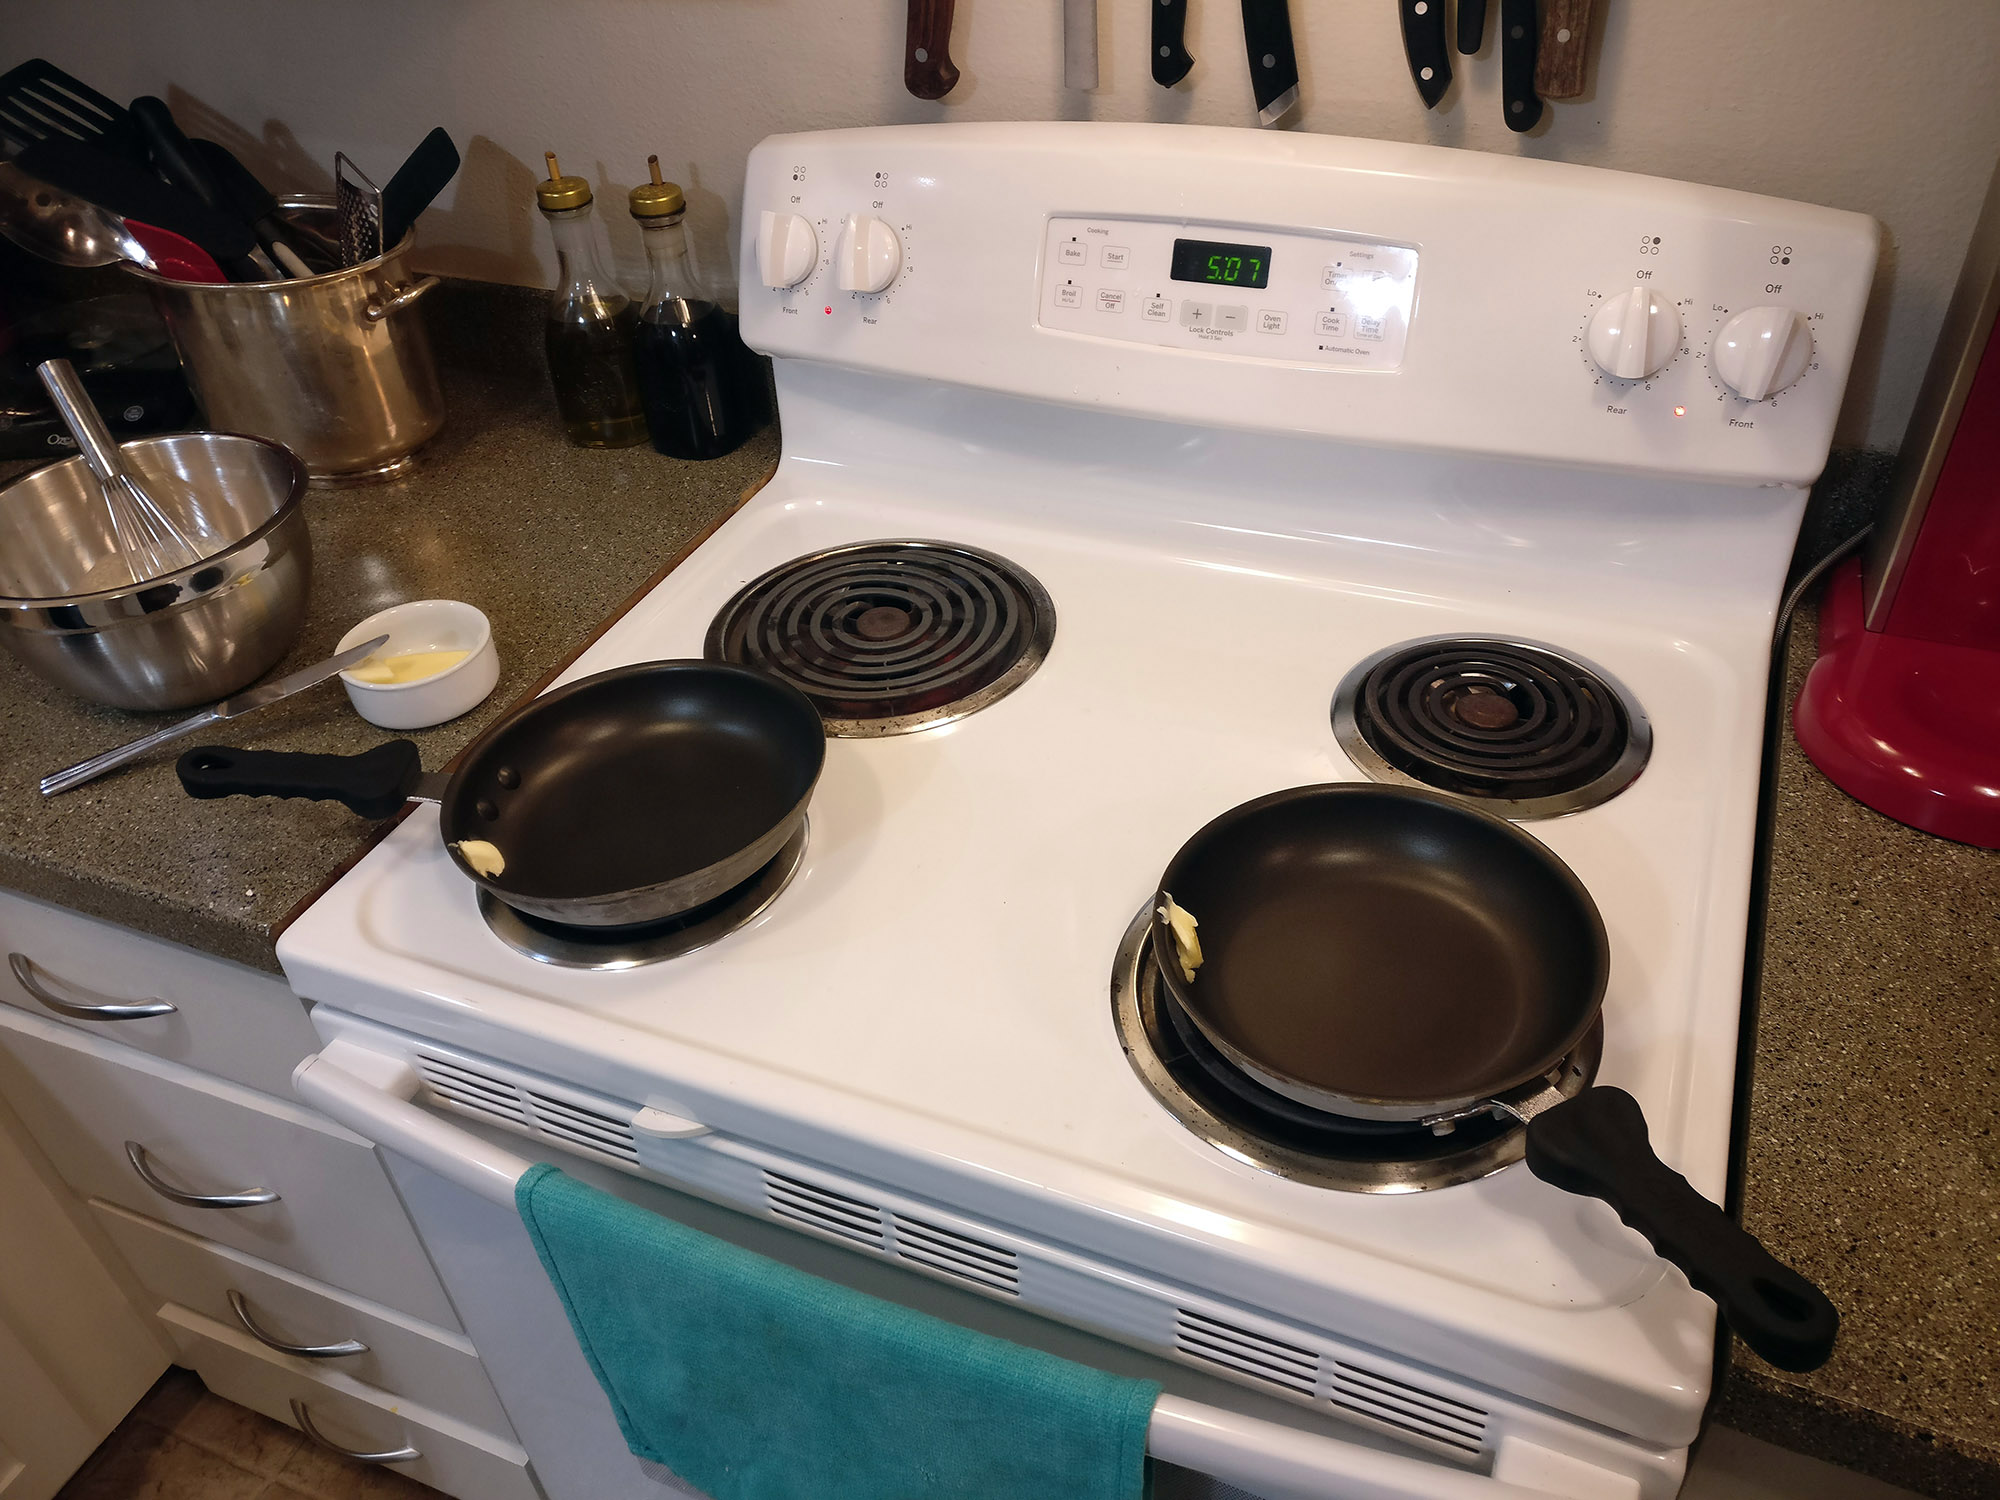
1. Set your stovetop to medium and start heating your non-stick pan…

2. Land a thwack of butter (we love grass-fed, all natural butter) in those pans as they heat as you turn to your mixing bowl…
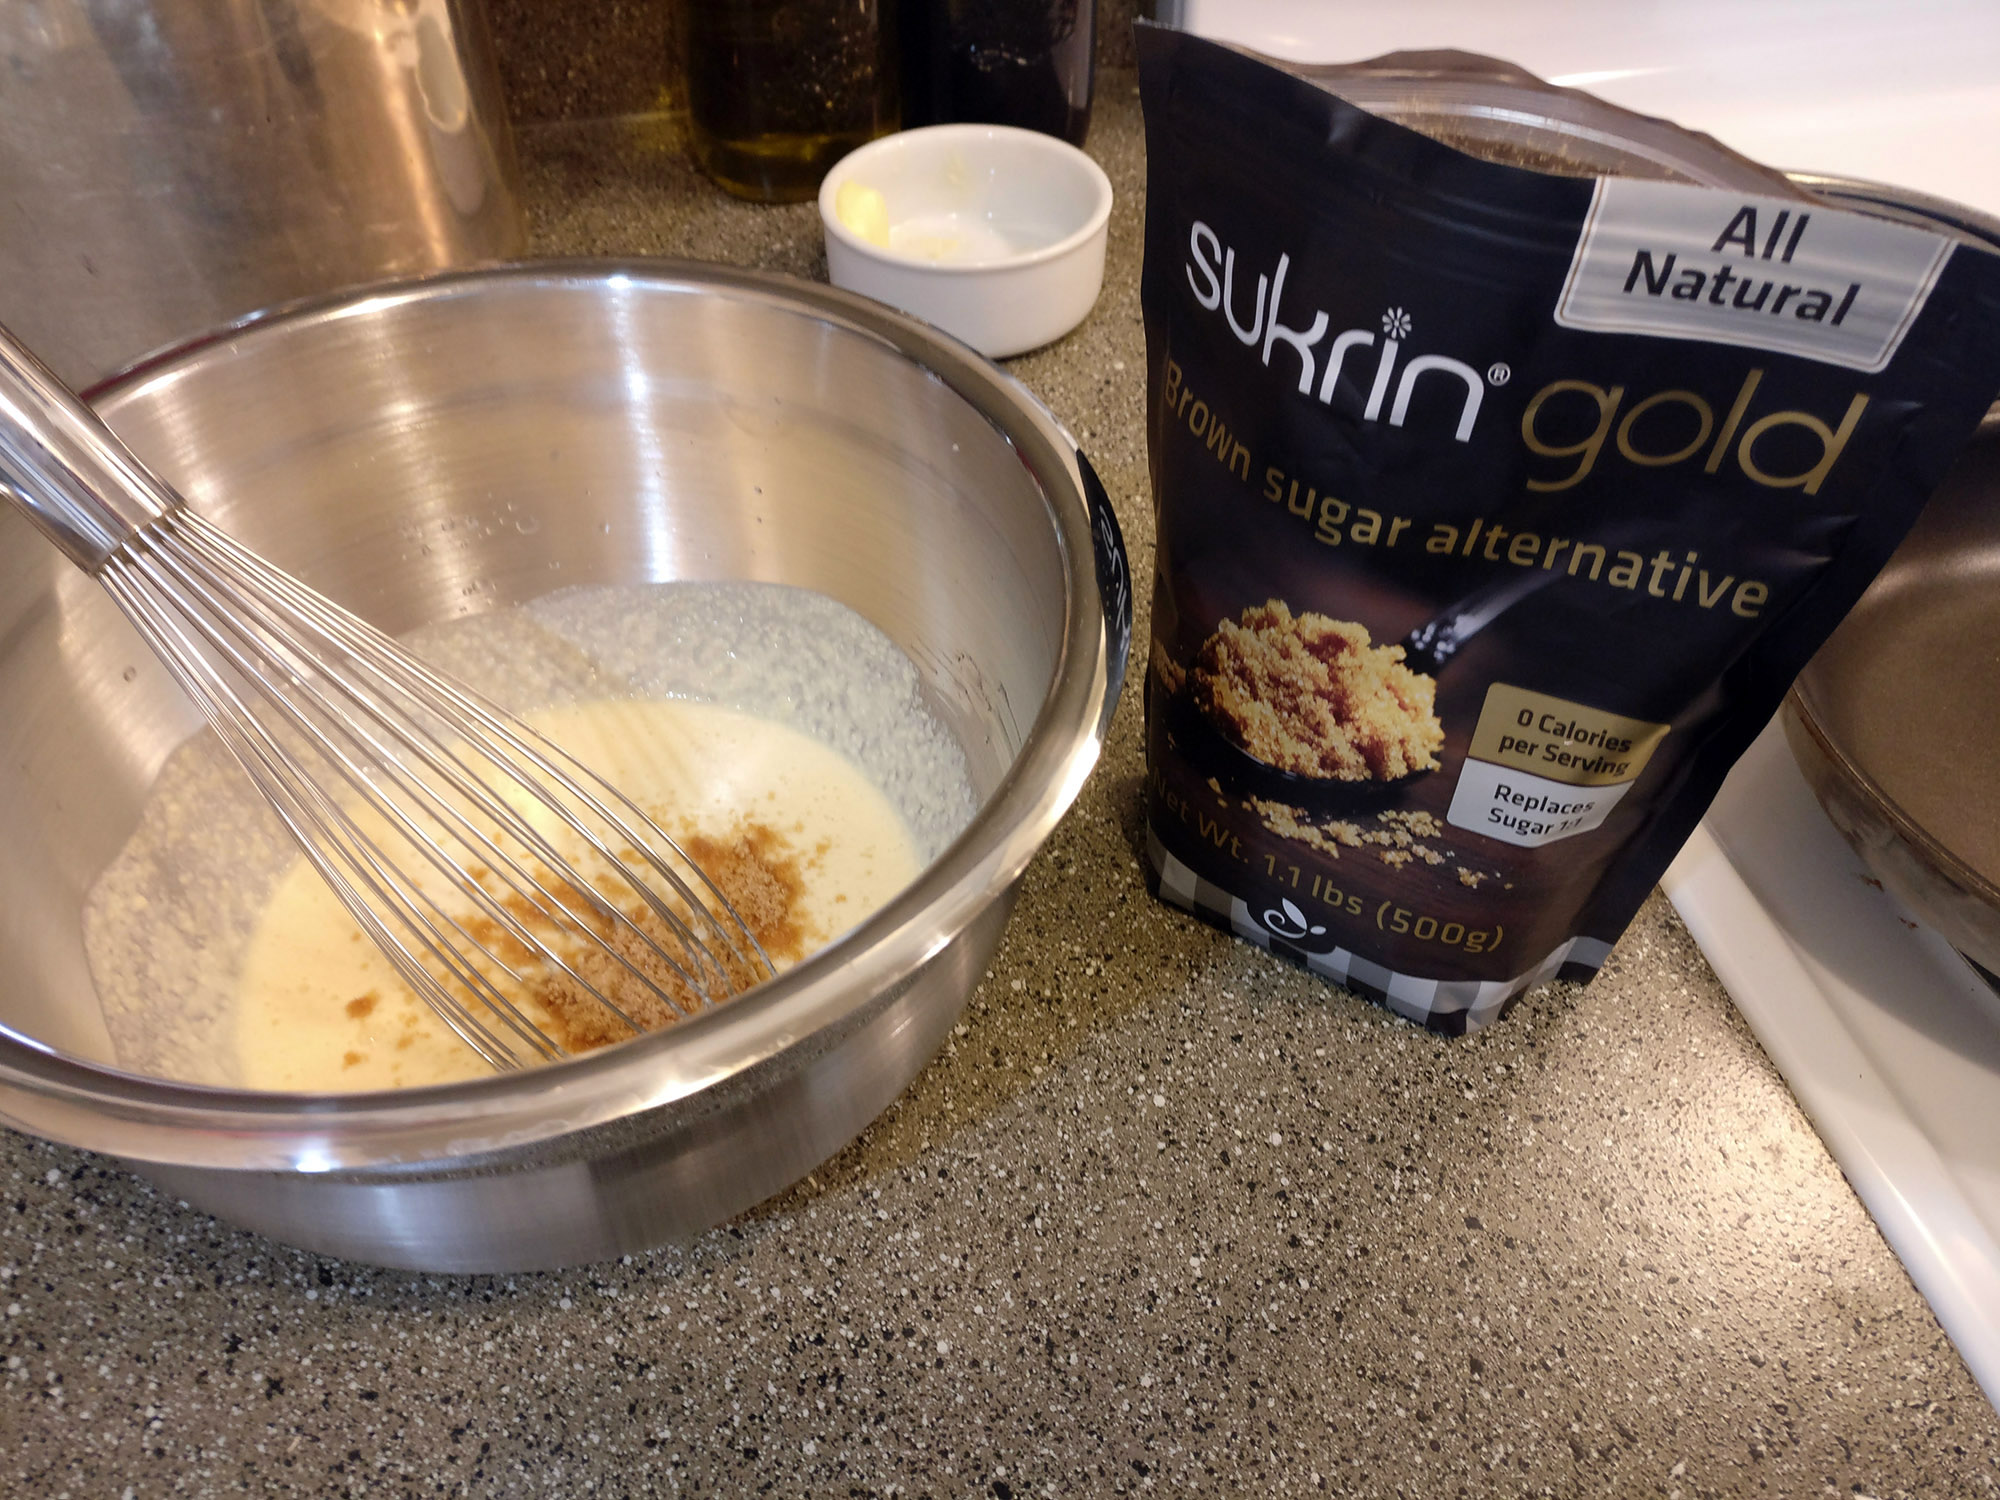
3. The official recipe on the Birch Benders bag calls for 3/4 of a cup of their mixture plus 2/3 of a cup of water. I’ve found that to be ideal. However, in an effort to avoid use of any syrup during serving, I adjust my mix a bit with about a tablespoon of brown sugar alternative and a drizzle of vanilla…

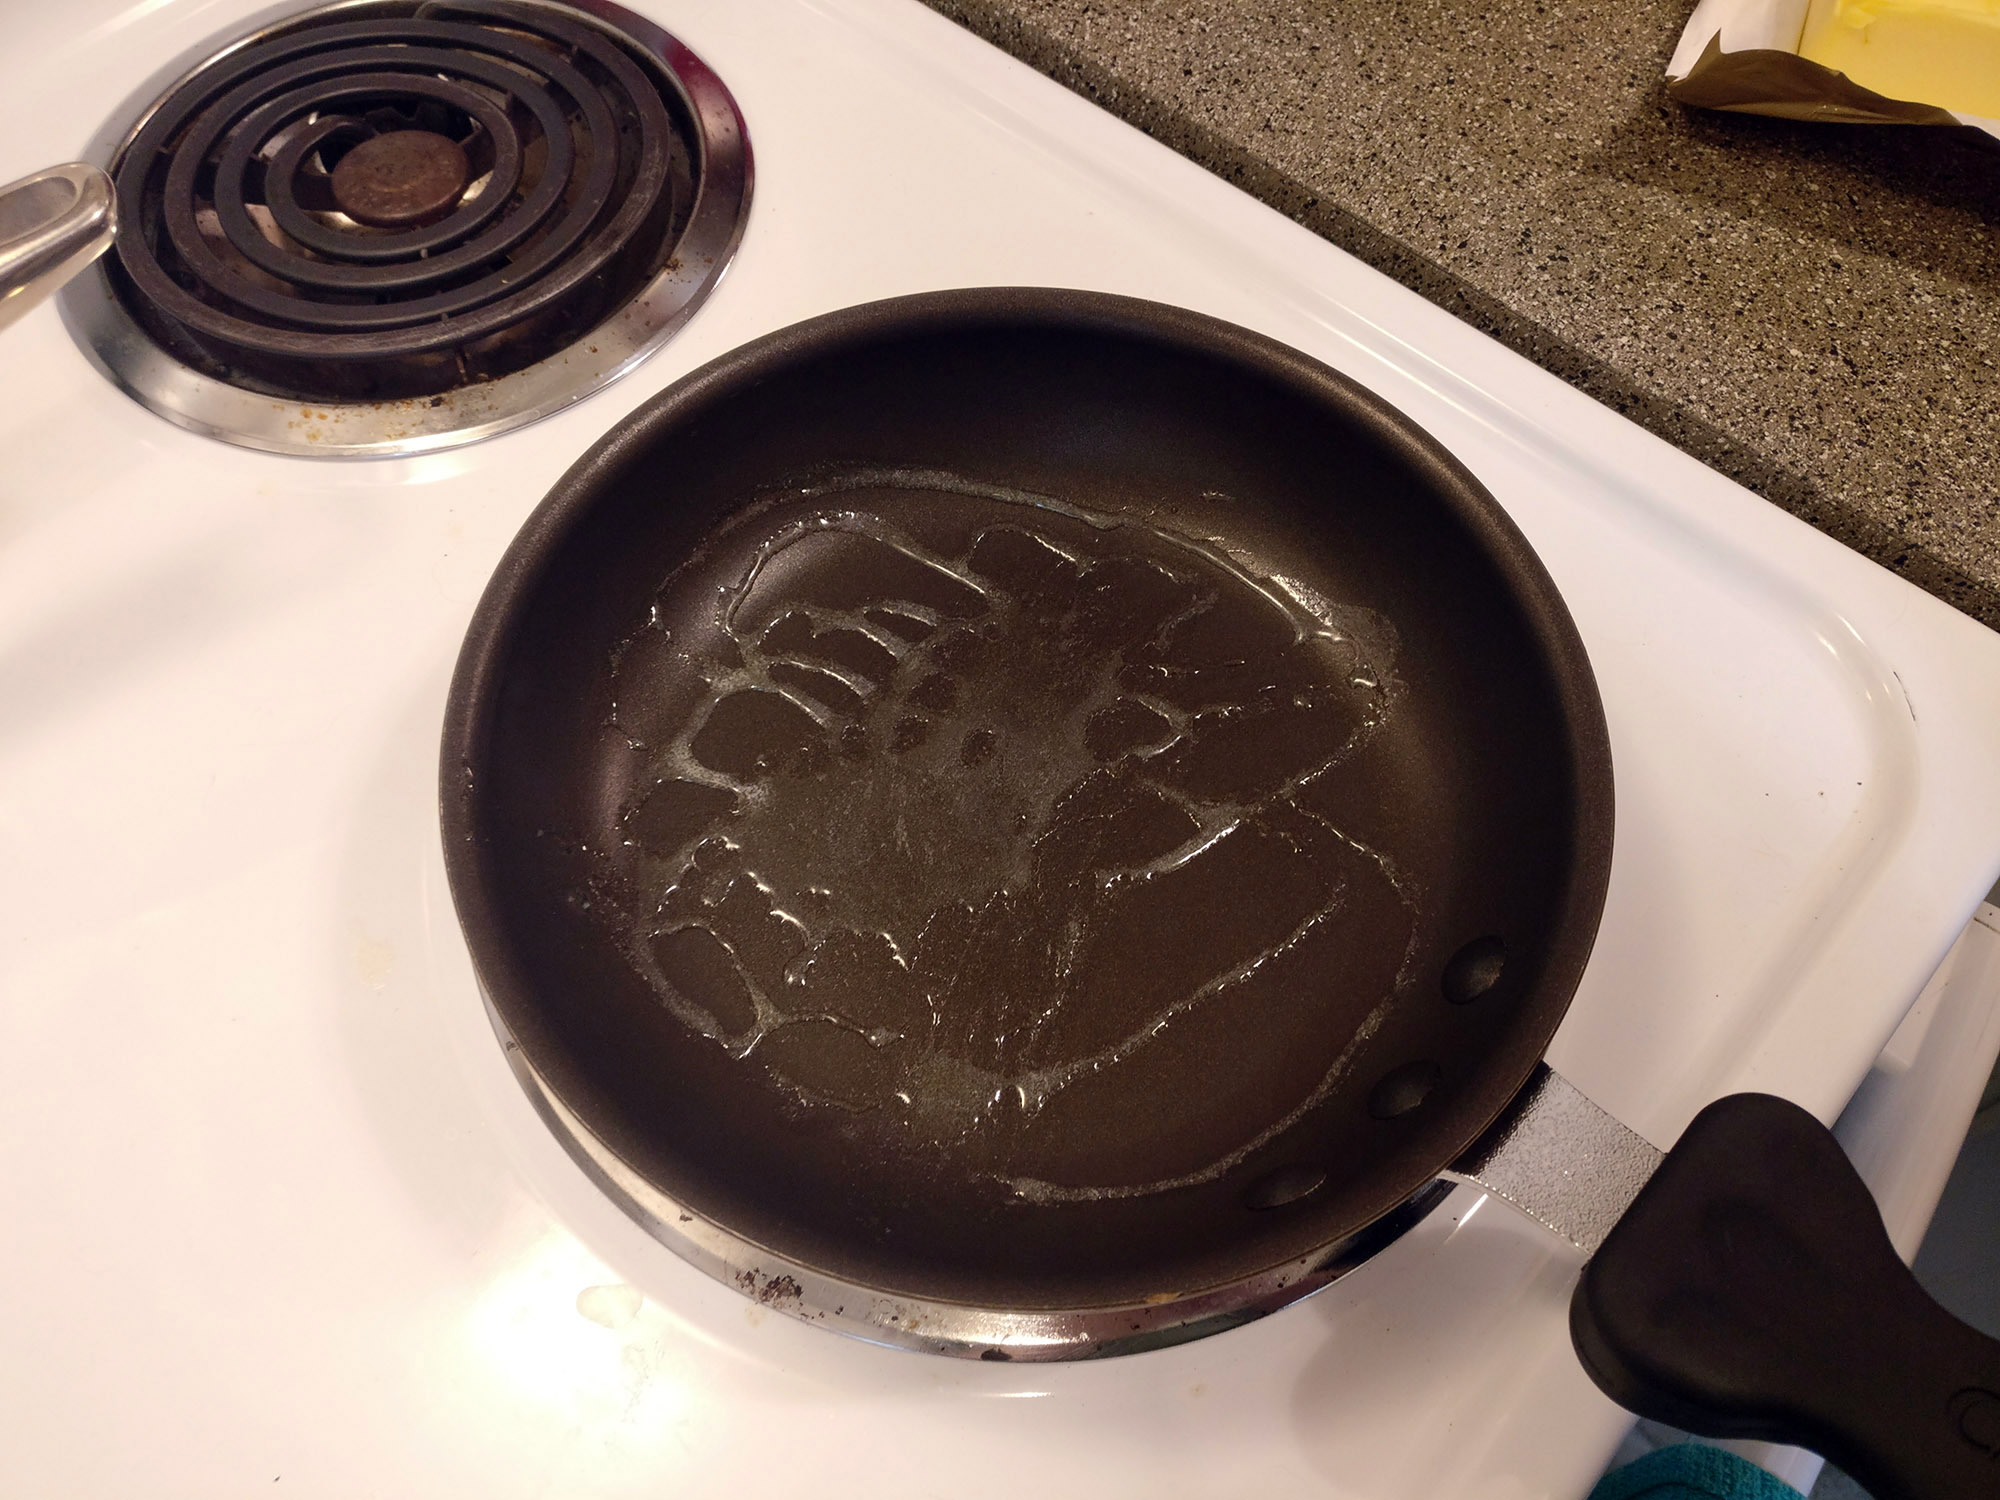
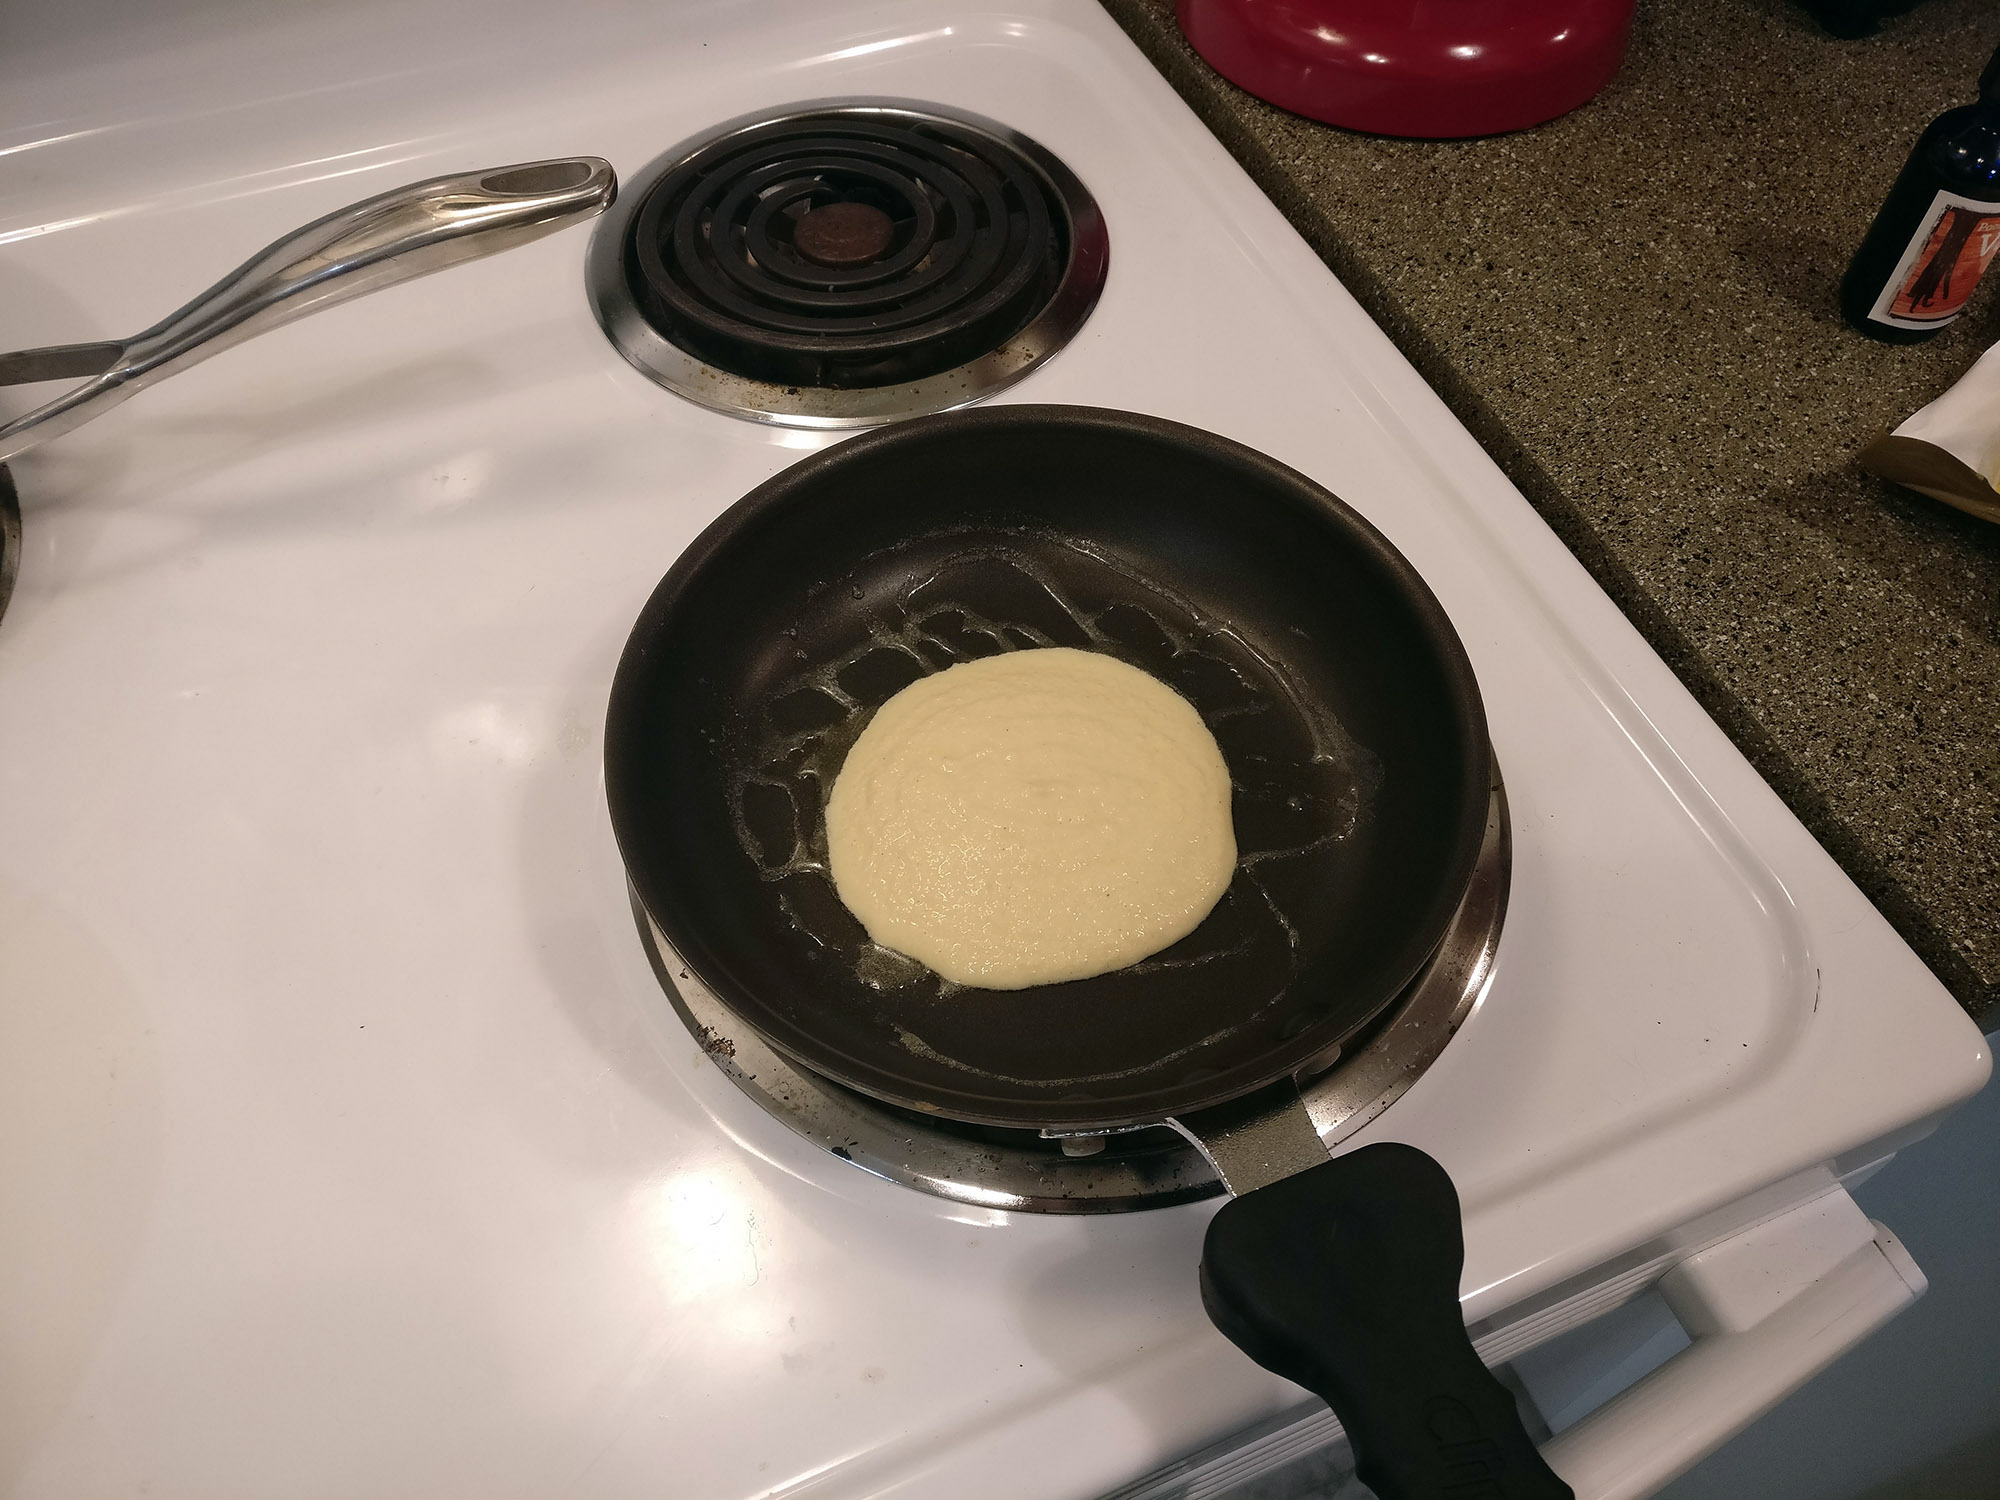
4. If your pan is up to temp and the butter is melted, you’re ready to pour in some batter! I tend to make 4 pancakes with the mix that results from 3/4 cup of powder and 2/3 cup of water.
5. I’ve found that despite being made from alternative ingredients, these pancakes have a pretty similar cook time to traditional ones.
6. If you are having trouble keeping the cake from sticking to the pan, or for just about any reason you want, it’s always OK to add a little more butter to the pan by running a dollop around the outer edge on the tip of a knife, letting it melt down.

7. Keep an eye on the top, and when you start seeing tiny bubbles coming up through, you know you’re at most a minute away from flipping. Typically, I flip after about 3 or 4 minutes of cooking.
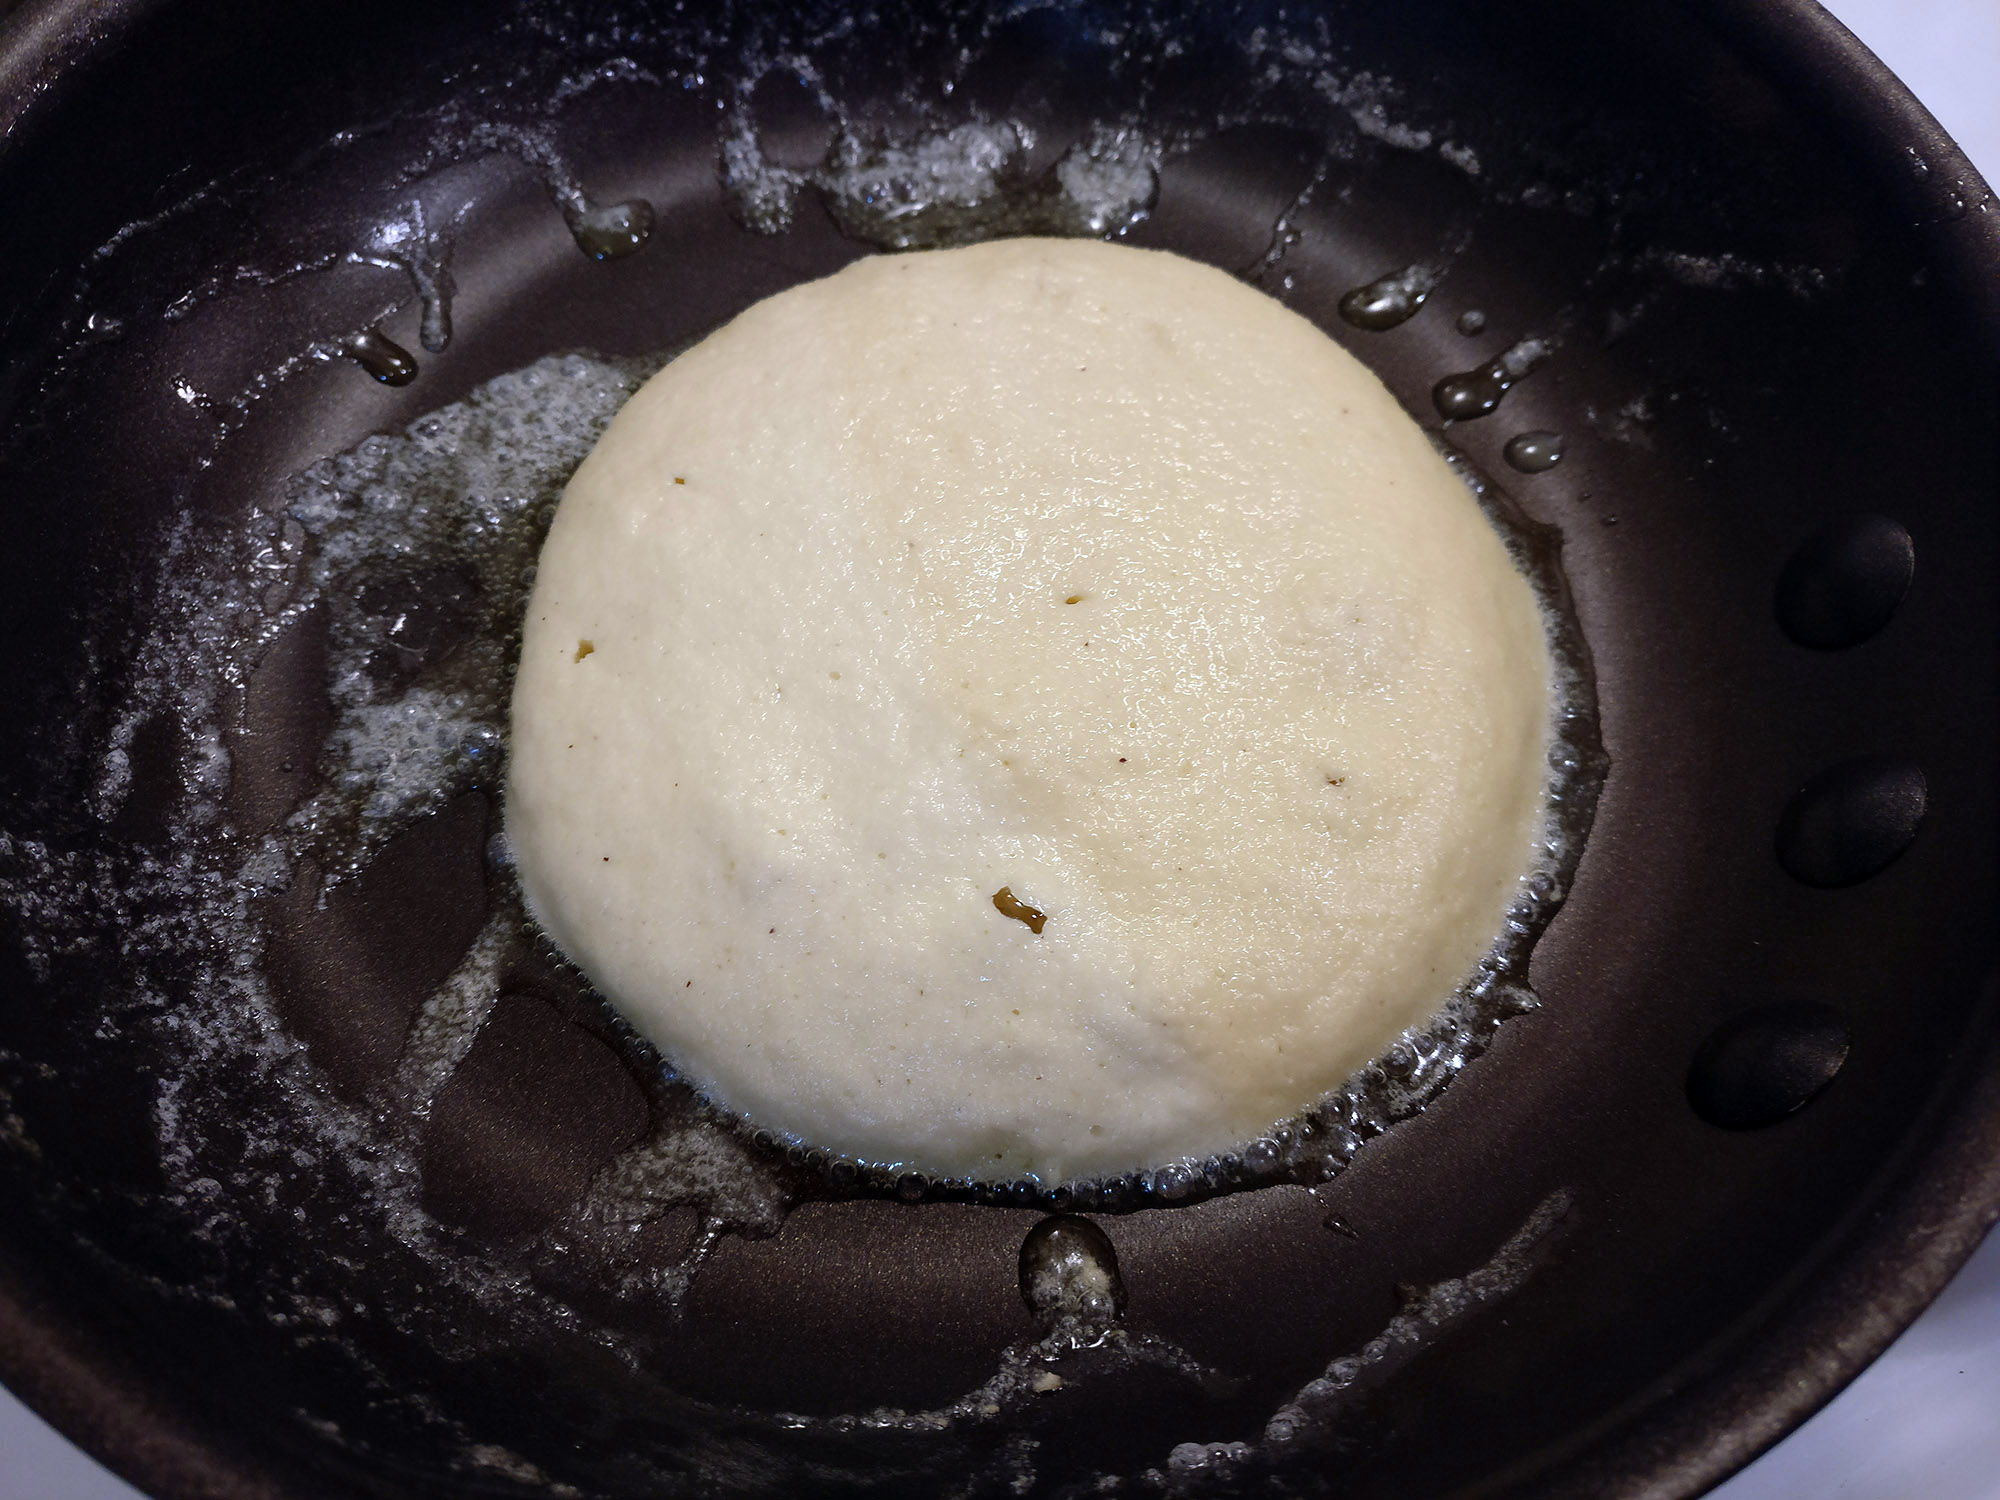
8. Flip carefully, and hopefully the underside is a perfect golden color. Once flipped, I let it cook for another 60 to 90 seconds, max.

9. Plate it with an additional pat of butter resting on top. No syrup should be needed, hopefully.

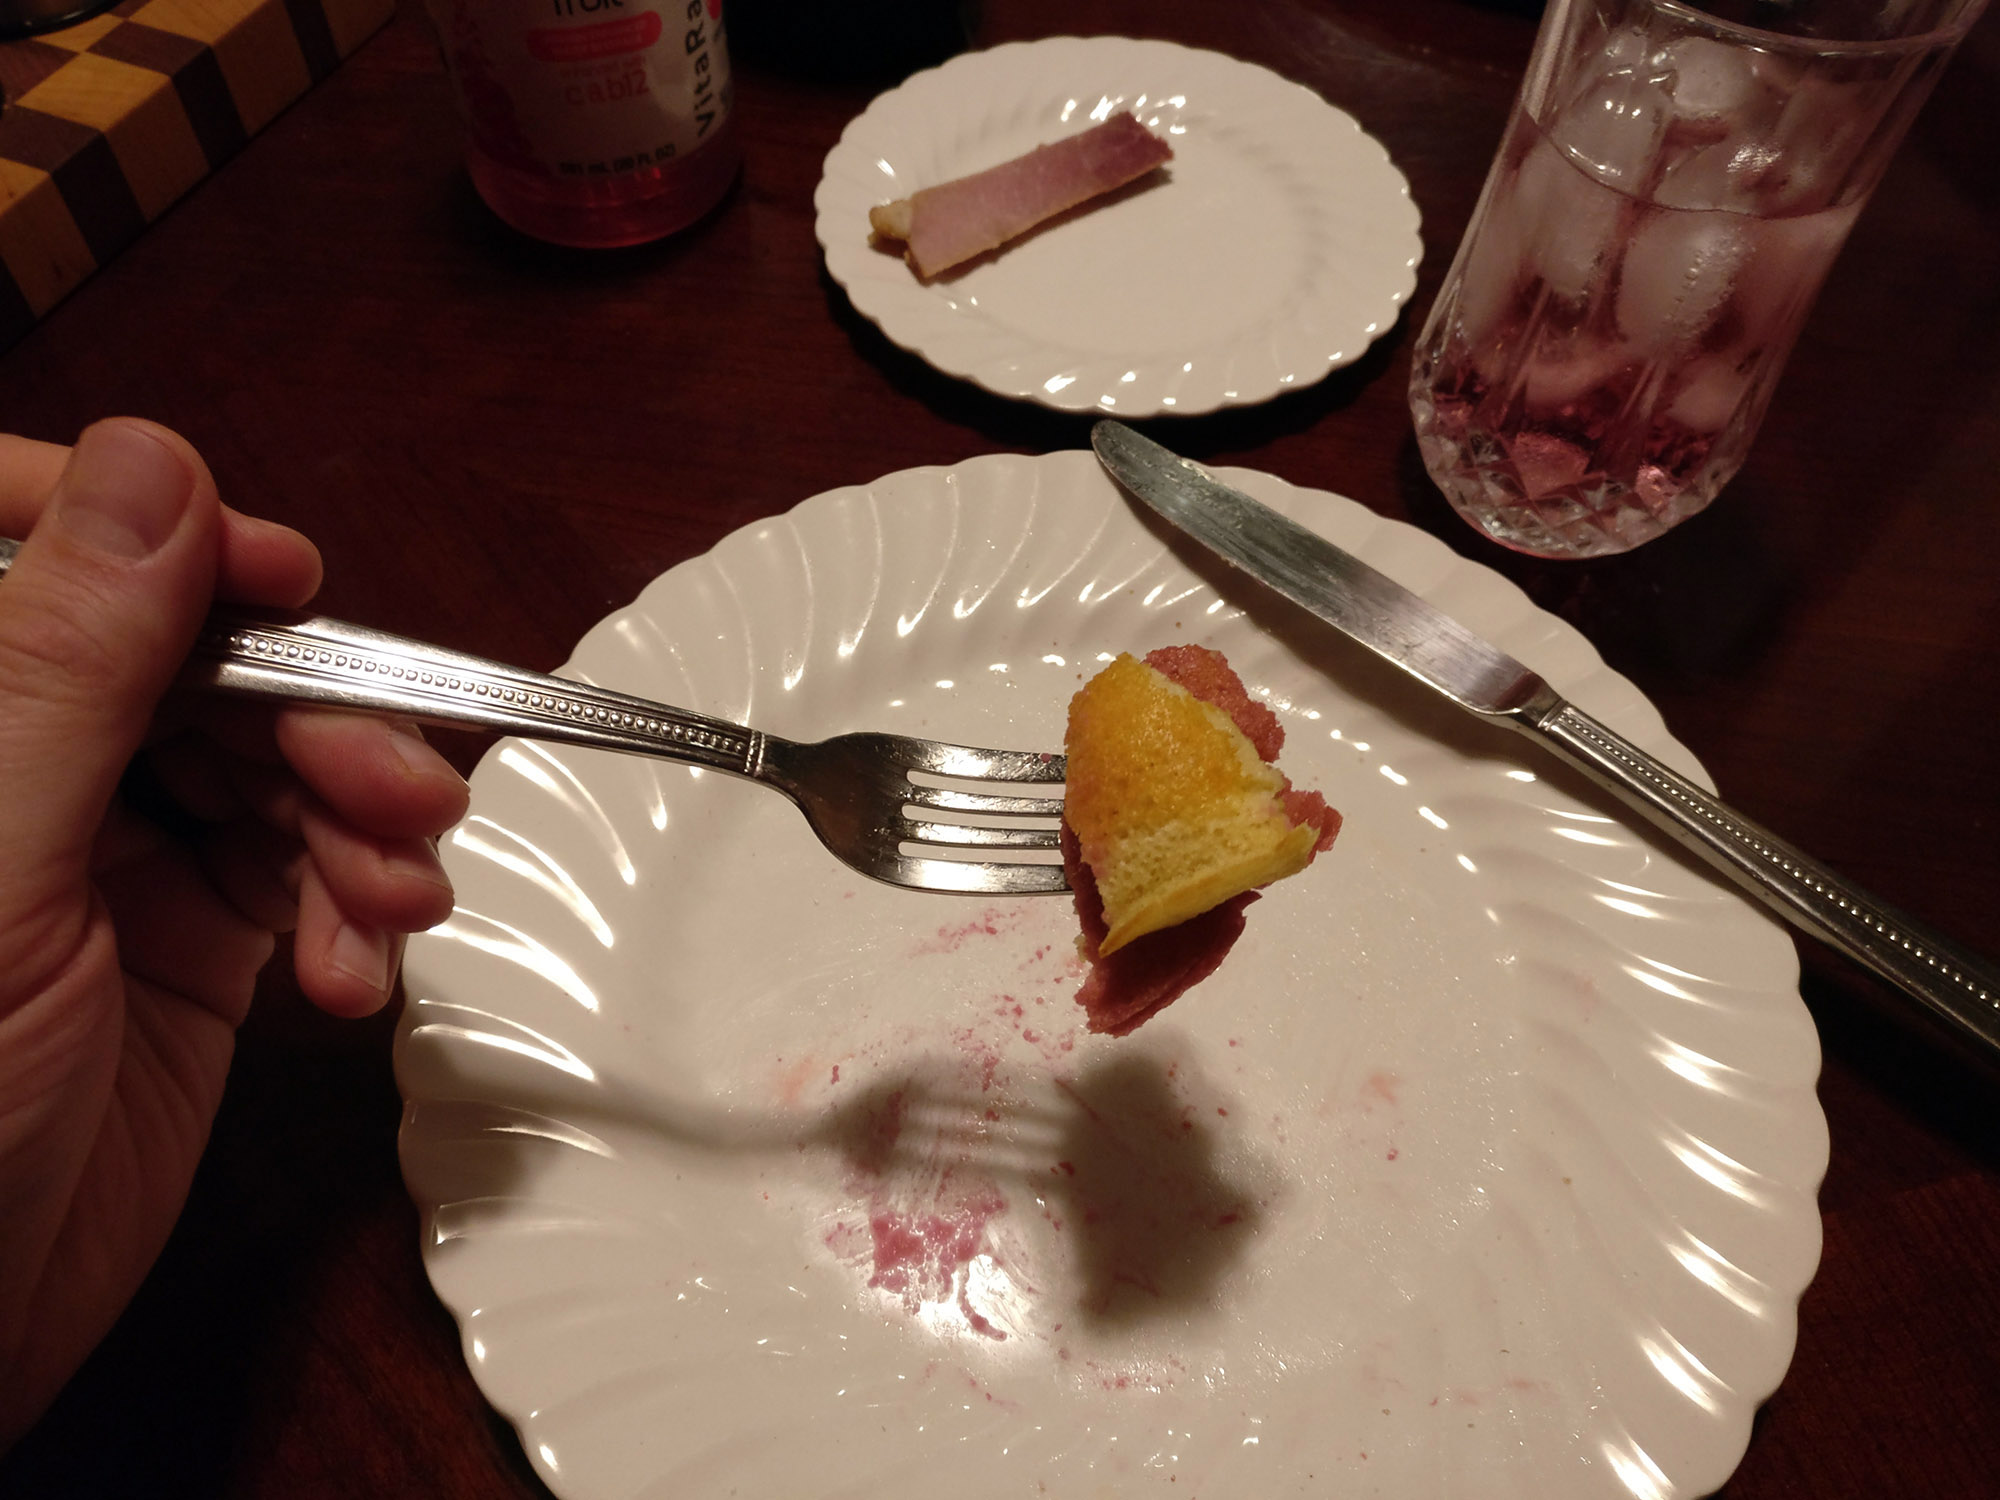
10. We sometimes experiment with fruit. Tarah likes strawberries. A couple berries diced up and folded into the batter (along with some red food coloring that we had for another project) made for a nice result, as well.

11. Note: if you add fruit like this, the water (and likely lower temp) of the fruit will slow the cooking process a bit, so you may want to keep the cake in the pan for a minute or so longer per side, in order to ensure it cooks through completely.

The results are really delightful, I have to say. These are delicious and, while not totally carb-free, they are much healthier than going to an IHOP or some such.

If you’re a Costco shopper, keep an eye out for them. Maybe you’ll give these a try. Maybe you’ll like them, too. Good luck and enjoy!