My wife owns a small blue ceramic bowl. I was never the biggest fan of it, since it doesn’t quite coordinate with anything in our kitchen (everything on the counters in there is stainless steel or Kitchenaid’s empire red) but she really treasures it due to the history this piece has. So it finds its way here and there in our home, offering a resting spot for little odds and ends. At least, it did… until it cracked.
Now, Tarah and I are pretty vehement about getting rid of things. For every new item we have ever acquired since we became a couple, I’m going to guess that we have shed at least ten other things. But every once in a while, you just can’t let something go… even if it’s in need of repair. We value mending as a skill and like to get more use of items when possible, but this has historically been relegated to repair of garments, electronics, or furniture. Sewing, soldering, and either wood refinishing or welding are all solidly within our wheelhouse as far as skills go. But neither of us had extensive experience with pottery repair.
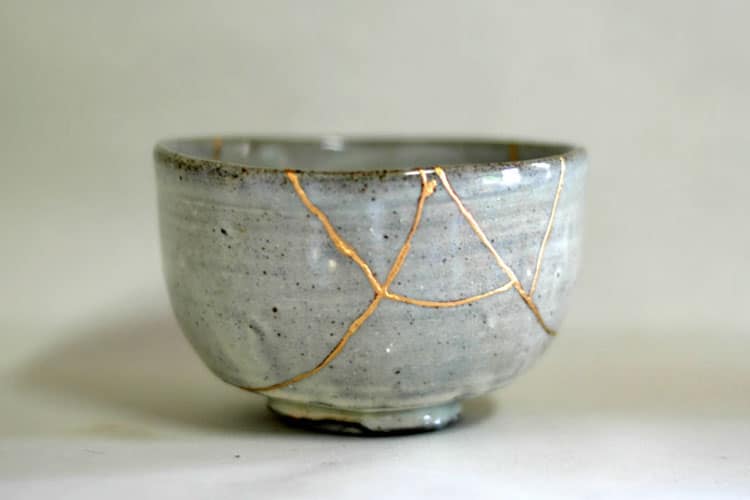
Instead of trying to do a subtle and covert glue job on the handful of ceramic fragments from the broken bowl before us, Tarah asked me if I had heard of the Japanese process of Kintsugi. I admitted I had not… but when I read about it, it pleased me. From the article linked just there…
The practice [of Kintsugi] is related to the Japanese philosophy of wabi-sabi, which calls for seeing beauty in the flawed or imperfect. The repair method was also born from the Japanese feeling of mottainai, which expresses regret when something is wasted, as well as mushin, the acceptance of change.
All of this is right up my alley, so when Tarah suggested we research methods for attempting this, I was instantly on board. I checked with some folk among our local maker and hacker scene, but none of them had any insights to offer. After some googling, however, it became apparent that some people have attempted a kludge-y method of this technique that simply involves mixing gold pigment into modern ceramic bonding glue. We were game to try!
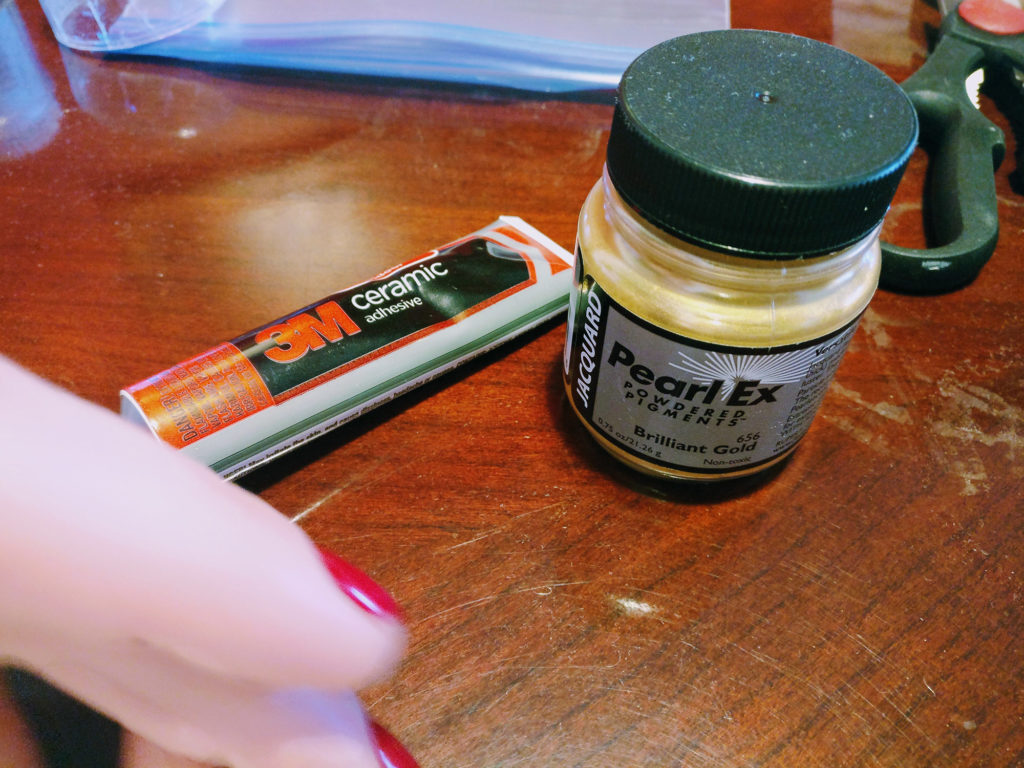
I purchased two simple supplies from Amazon… a tube of 3M ceramic adhesive and a jar of Jacquard gold pigment powder. When they arrived, we simply re-created the steps that others had described in the occasional internet forum post:
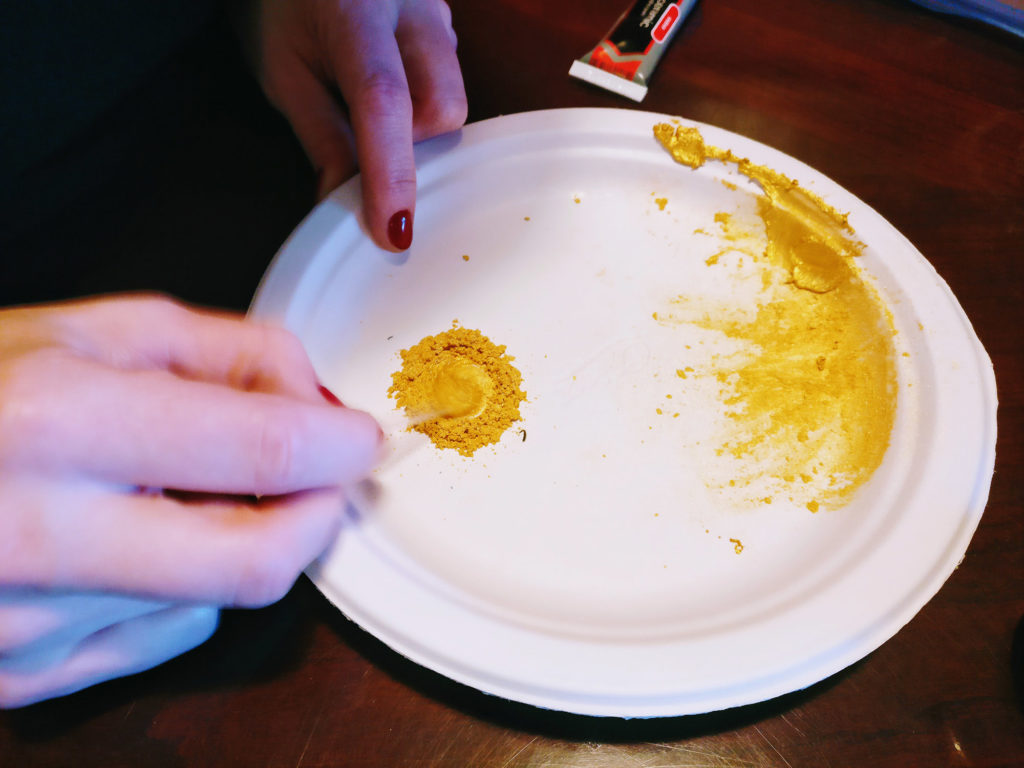
1. Mix a dollop of the ceramic adhesive with a portion of the gold pigment. How much? Eh, the internet is non-specific. We just sort of mixed in gold until there was a nice sheen and solid color but the adhesive did not appear to be turning into paste or otherwise losing its viscosity.
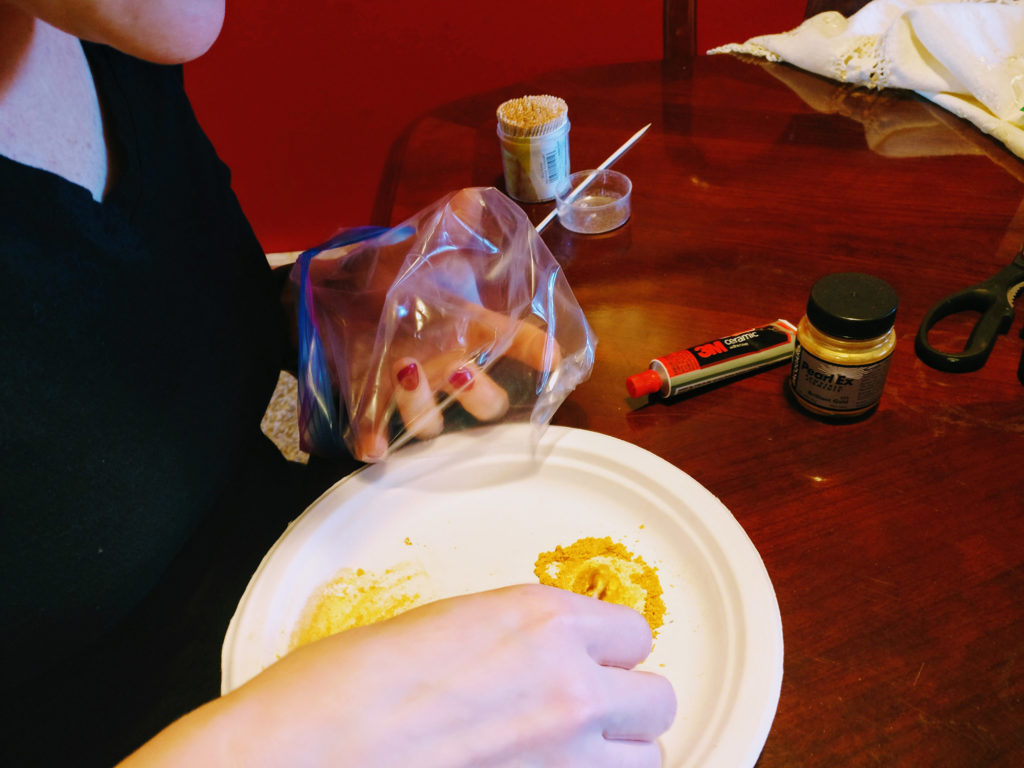
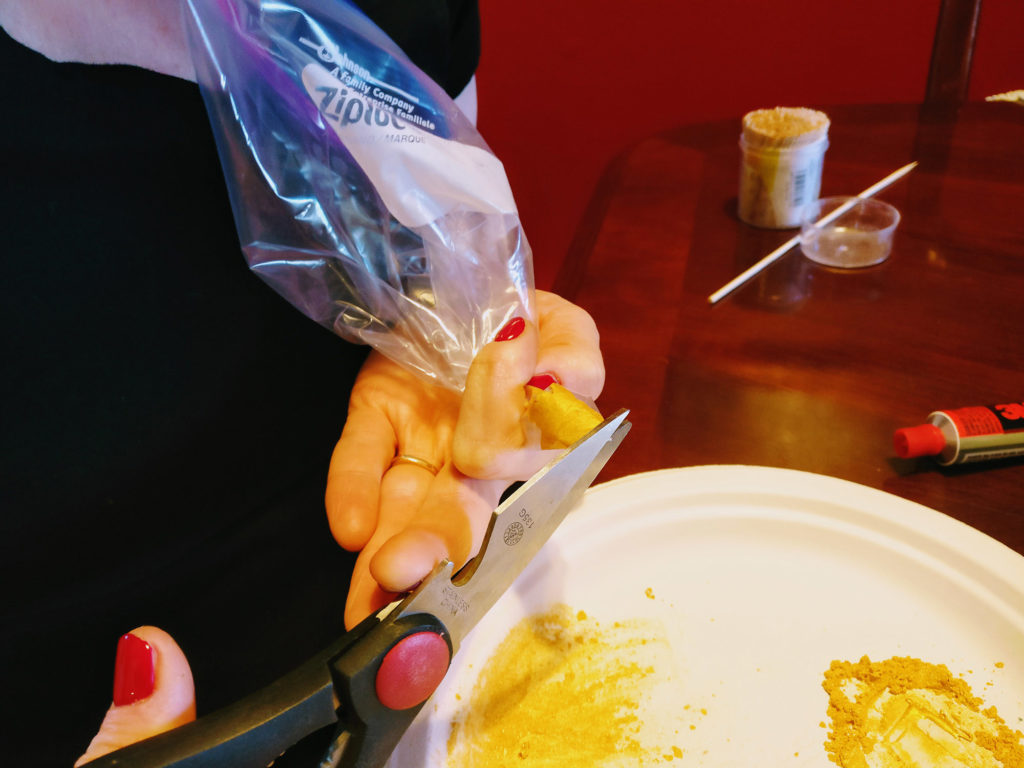
2. Load the gold adhesive gel into a baggie. We just used our mixing toothpicks to spoon the gel into a zip-loc bag which was inverted.
3. Snip the end of the bag just a little bit on the corner. Anyone who’s done cake decorating can see what’s coming next.
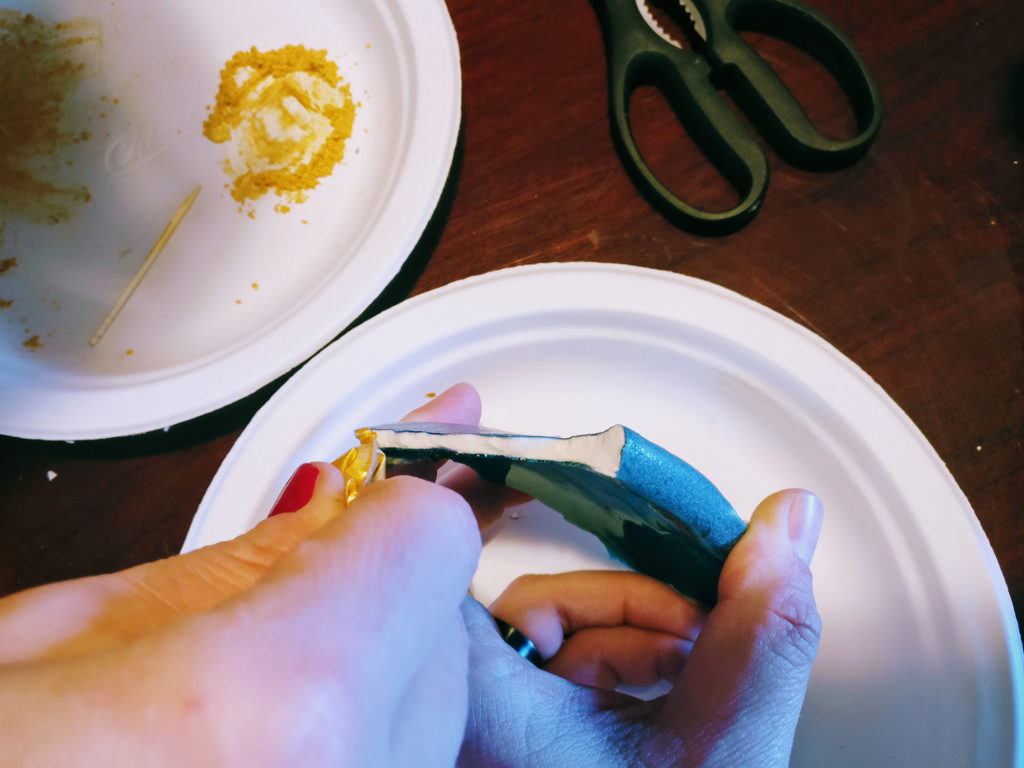
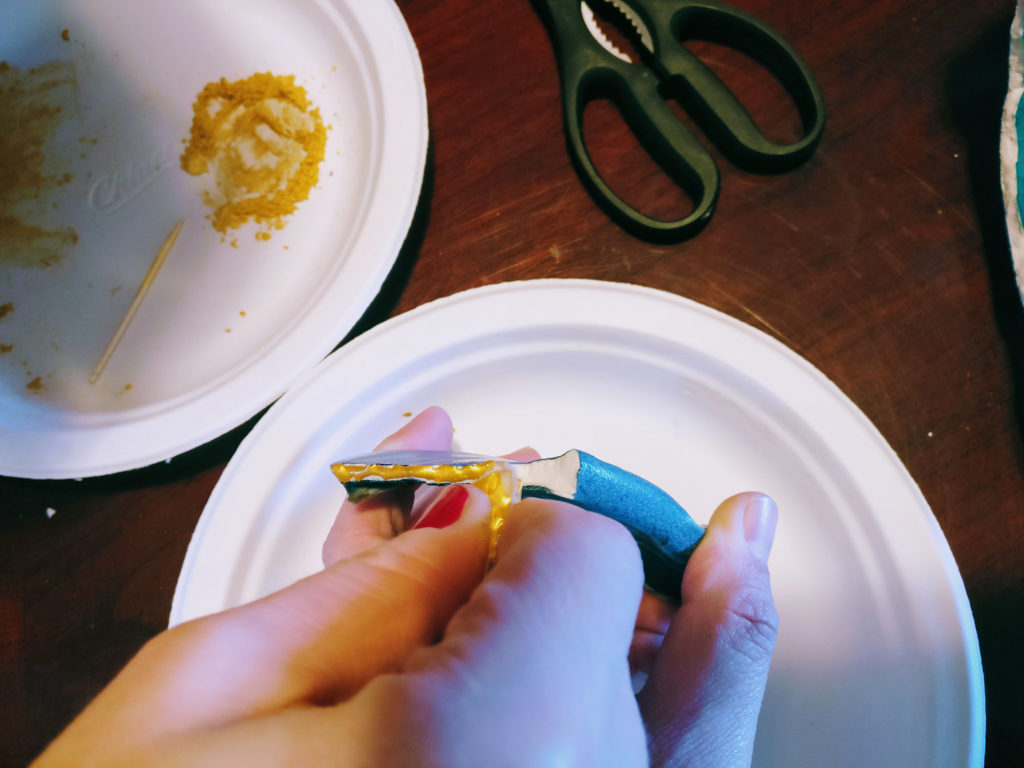
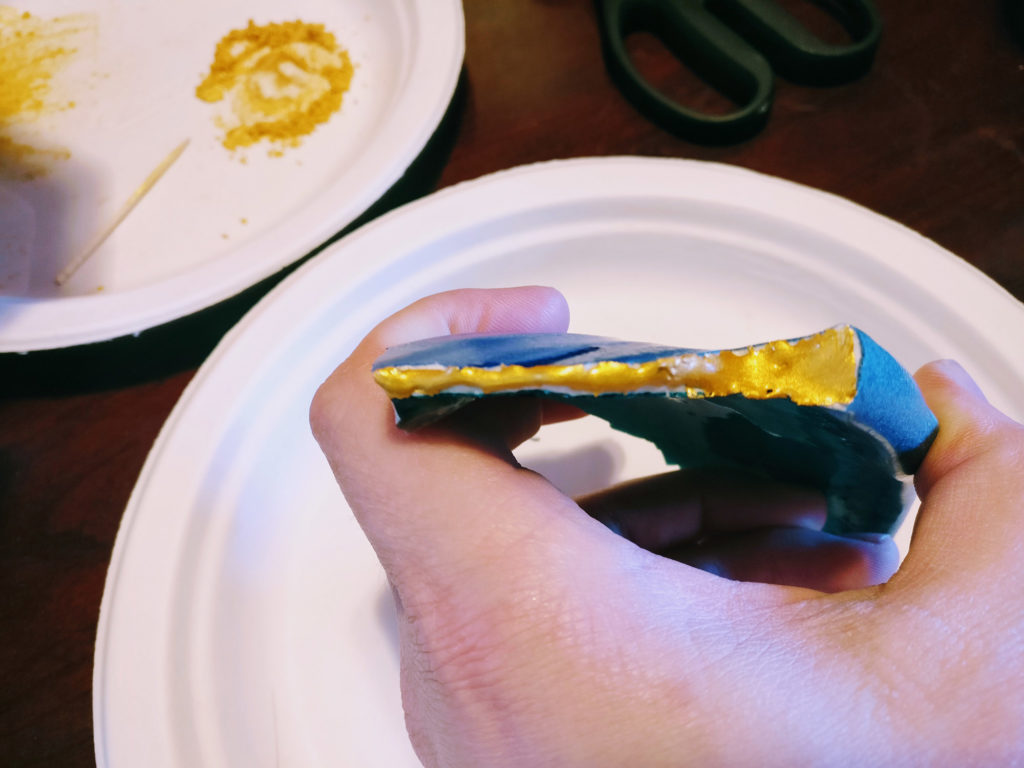
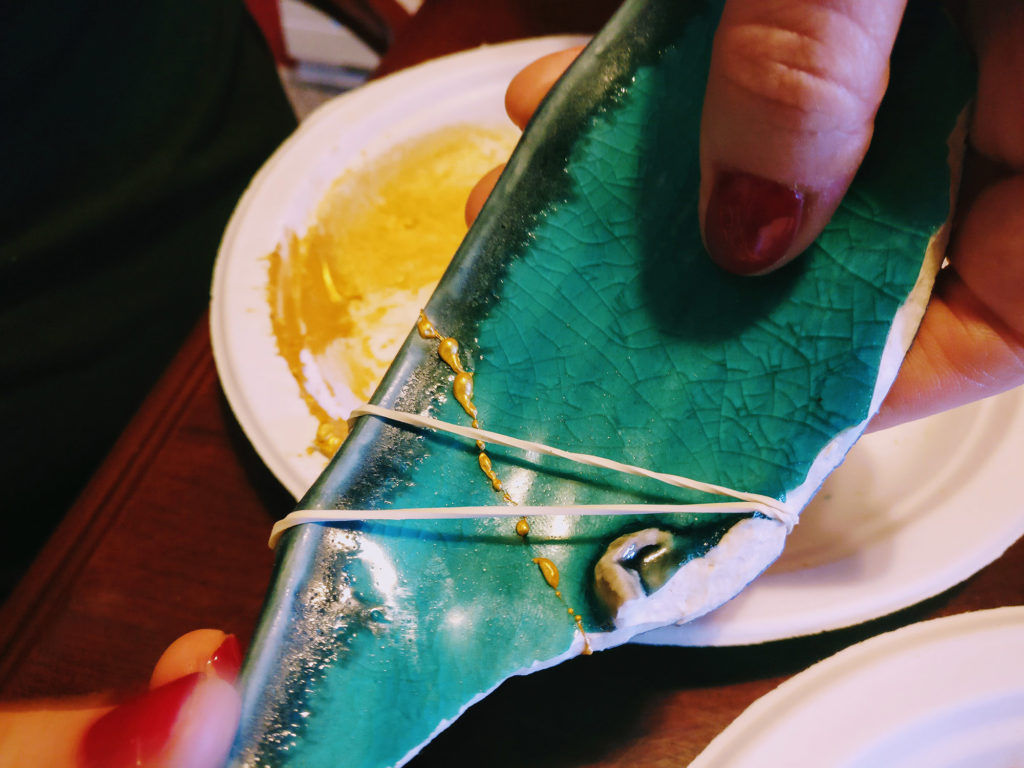
4. Squeeze the baggie to pipe the gold adhesive onto the seam of the pottery you’re attempting to repair. You want good, even coverage so that when you press the pieces together they “splurp” just a little bit outside of the seam. (That’s a scientific term, of course)
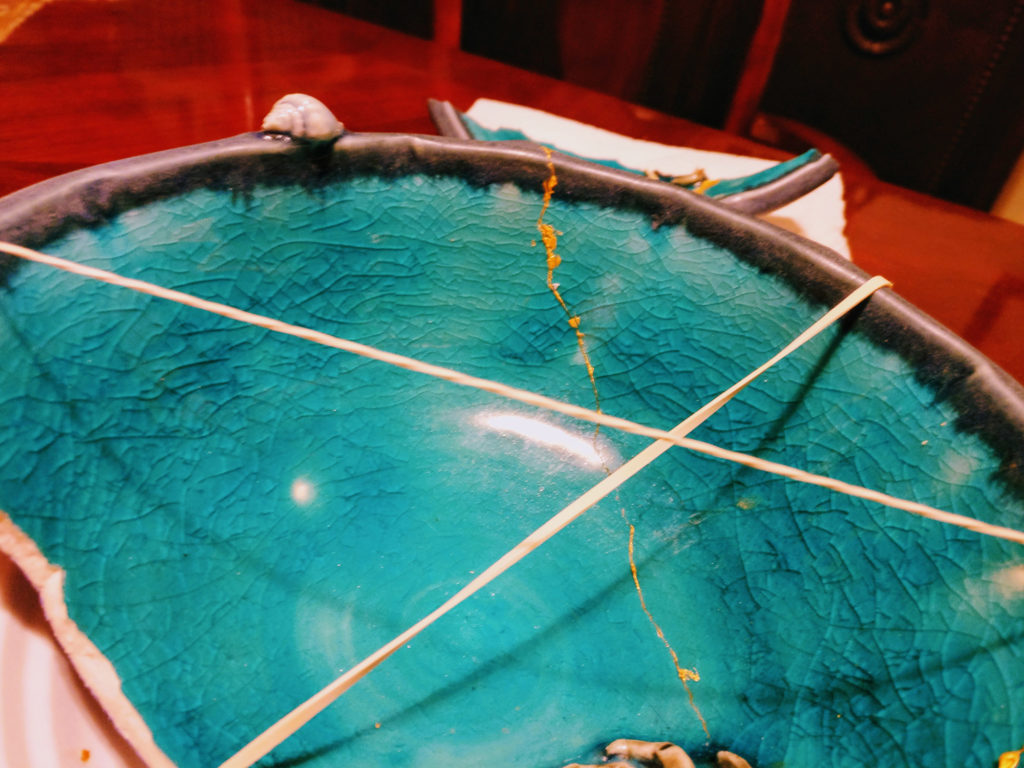
5. Press together the pieces you wish to repair, and use rubber bands to hold them in place. NOTE – it is immensely easier to apply the rubber bands with a second person participating in the process with you. I frankly can assure you that there would have been a lot more swearing and crumbling during failed attempts if I was trying this solo.
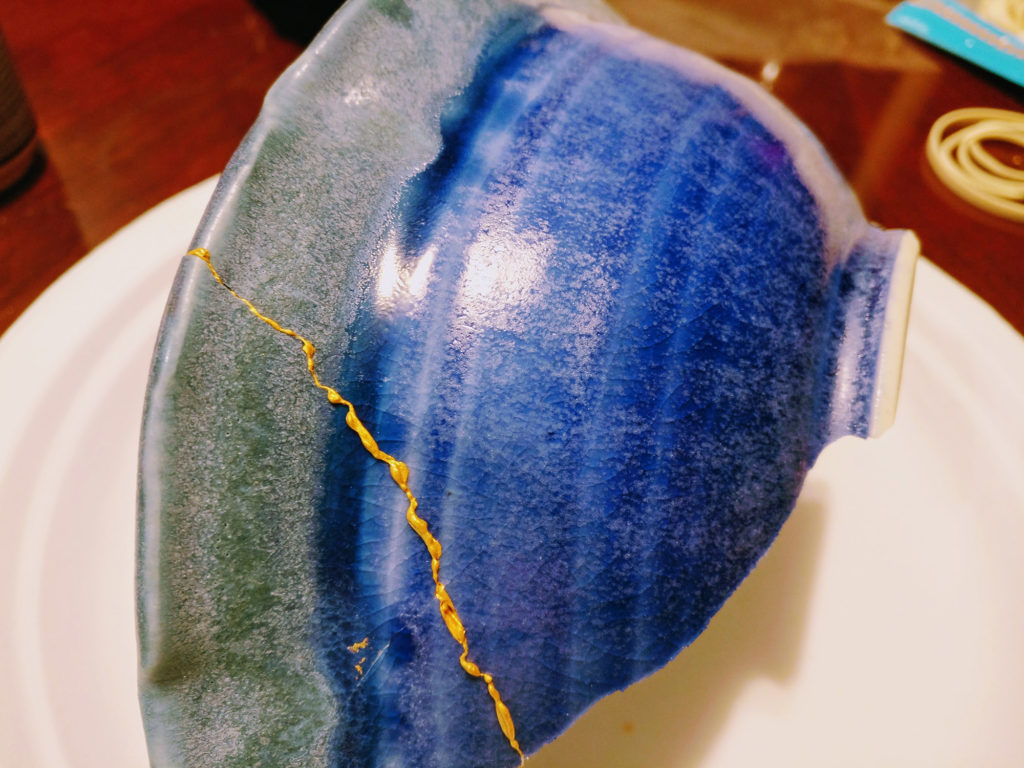
6. So there you go! After about 4 to 6 hours the adhesive will be somewhat robust. In my experience, it won’t totally set until at least 12, however… so let it stay there overnight. Proceed cautiously, one crack at a time, and in the end you will hopefully be satisfied and happy with your DIY Kintsugi repair! 🙂
Ganbatte!

